Business & Tech Essentials
How to Set Default General Product Posting Groups in Dynamics 365 Business Central
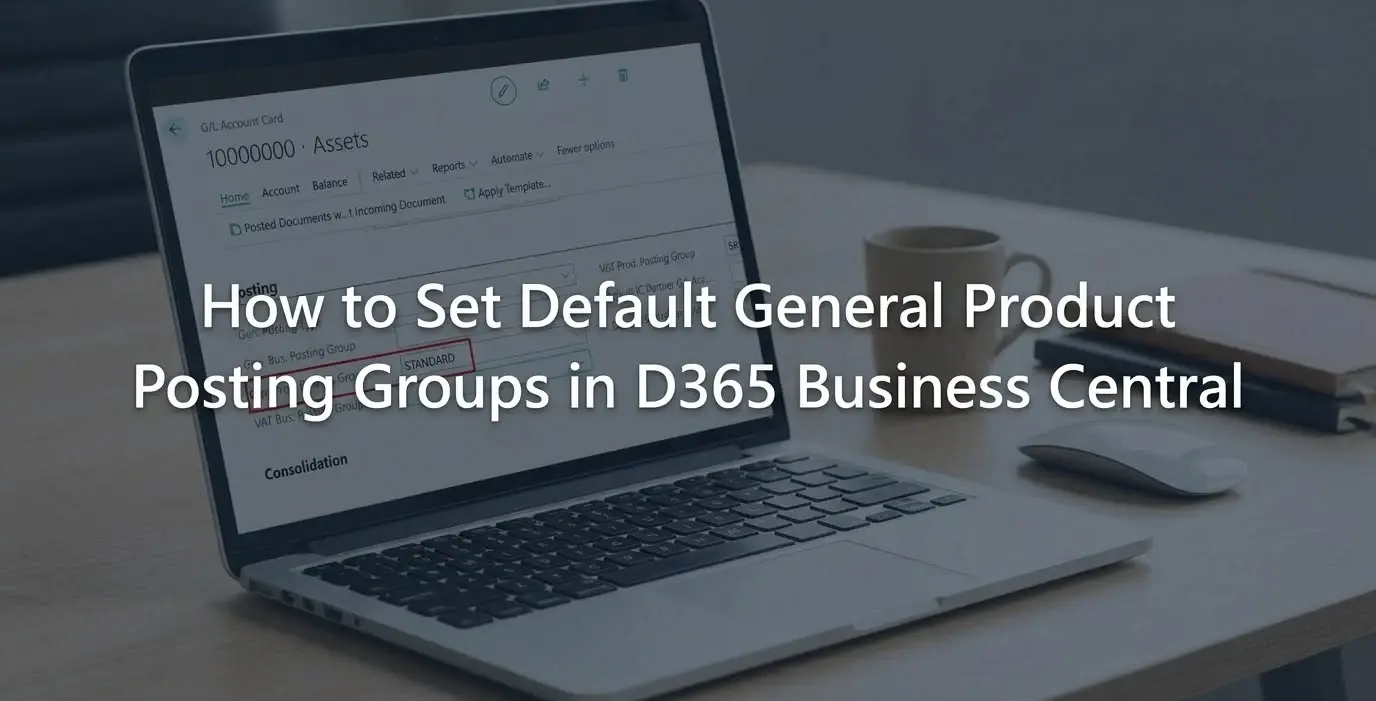
Setting up posting groups correctly is an important part of managing financial transactions in Dynamics 365 Business Central. In this class, we’ll look at how to set the General Product Posting Group so that it is automatically populated when you create sales and purchase invoices.
This small configuration can save time during document entry and help keep posting information consistent across your accounts.
If you need help configuring or optimizing Business Central for your organization, Out2sol Global provides Microsoft Dynamics solutions tailored to your business processes.
What Is a General Product Posting Group?
The General Product Posting Group helps Business Central determine how products and services are posted to the general ledger. It works together with the relevant general business posting group and posting setup to determine which accounts are used when transactions are posted.
For example, if you use a posting group such as STANDARD, assigning it to the appropriate account or product setup allows Business Central to automatically bring that value into relevant sales and purchase documents.
How to Set the General Product Posting Group
In this example, we will set STANDARD as the General Product Posting Group and then check how Business Central uses it in sales and purchase invoices.
Step 1: Open the Chart of Accounts
First, sign in to Dynamics 365 Business Central.
From the main navigation:
- Go to Finance.
- Select Chart of Accounts.
- Open the relevant account card, such as an Asset account.
This opens the account details where we can configure the posting information.
Step 2: Set the General Product Posting Group
On the account card, scroll down to the Posting section.
Find the General Product Posting Group field and select:
STANDARD
Once selected, the posting group is configured for the account.
This setup can be applied to the relevant accounts in the Chart of Accounts according to your organization's posting requirements.
Step 3: Check the Sales Invoice
Now, open a Sales Invoice.
When you add the relevant line or product, check the posting information. The General Product Posting Group can now be populated based on the configured setup.
This reduces the need to select the posting group manually every time you enter a transaction.
Step 4: Check the Purchase Invoice
Next, open a Purchase Invoice and add the relevant line.
You can check the General Product Posting Group in the posting-related fields. The configured value can be automatically populated based on the setup.
This helps maintain consistent posting information across both sales and purchase transactions.
Why Use Default Posting Groups?
Setting up posting groups correctly can make everyday document entry easier.
It can help you:
- Reduce repetitive manual data entry.
- Keep posting information consistent.
- Reduce the possibility of selecting an incorrect posting group.
- Make sales and purchase document entry faster.
- Support more consistent general ledger posting.
The important point is that posting groups should be configured according to your organization's accounting structure. A default value should not be selected simply because it is convenient.
Final Thoughts
The General Product Posting Group is a small but important part of Business Central's posting setup. By configuring the appropriate value, such as STANDARD, you can make the posting information available automatically when working with sales and purchase documents.
As we have seen in this class, the process is straightforward: open the relevant account from the Chart of Accounts, configure the posting group, and then verify the result on your sales and purchase invoices.
If your Business Central environment requires more advanced configuration, integration, or accounting workflow improvements, Out2sol Global can help you implement Microsoft Dynamics solutions around your business requirements.
See you in the next Business Central class.
Disclaimer: All logos, trademarks, and brand names used in this document are the property of their respective owners. Their use here is for identification purposes only and does not imply endorsement.
Recent News

How to Apply Sensitivity Labels in Power BI for Data Protection
08-09-2026

LEAP 2026 Day 4 Highlights: $15B in Total Investments & The Human Capital Era
04-09-2026

LEAP 2026 Day 3 Highlights: $857M in Tech Deals, VC Growth & Local Manufacturing
03-09-2026

LEAP 2026 Day 2 Highlights: More Than $2.5 Billion Invested to Boost Saudi Arabia's Data Hubs and Digital Capabilities
02-09-2026

LEAP 2026 Day 1 Highlights: $15B+ Investments & 5 Enterprise Tech Trends
01-09-2026
How to Assign Workspace Roles and Permissions in Power BI Service
25-08-2026
How to Set Default Document Line Types in Dynamics 365 Business Central
25-08-2026
How to Create a List Page in Business Central Using AZ AL Dev Tools
19-08-2026
How to Connect Azure SQL Database to Power BI Desktop
19-08-2026

How to Do Predictive Analysis in Power BI Desktop
07-08-2026

Your choice regarding cookies on this site
Policy, By Continuing, You are agreeing to Our Terms of Use and Consenting to the above.
Privacy Policy Powered By |