Business & Tech Essentials
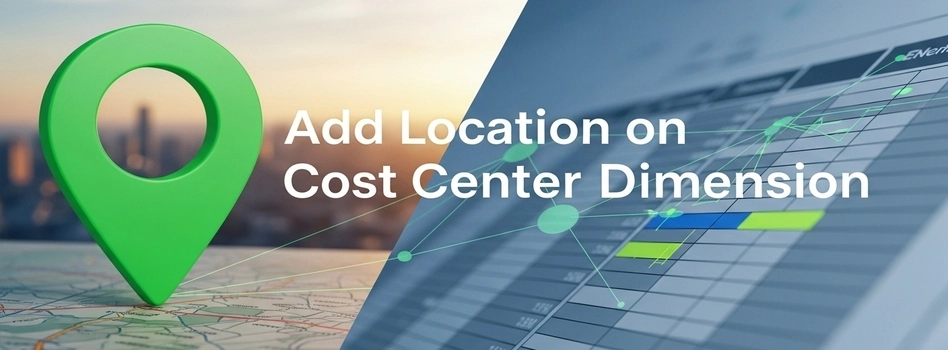
Add Location on Cost Centre Dimension
Today we will learn how to add a location on the Cost Centre dimension in Dynamics 365 Business Central and how these dimension values can automatically appear in transactions like Transfer Orders and Purchase Invoices.
Dimensions in Business Central are very important for financial tracking and reporting. They help businesses organize transactions based on locations, departments, business units, projects, or branches. Instead of manually entering the same information again, dimensions make the process faster and more accurate.
If you are planning to improve ERP workflows, reporting, and automation in Business Central, explore Microsoft Dynamic Solutions to understand how the right setup can simplify daily operations and financial management.
What Are Cost Centre Dimensions in Business Central
Cost Centre dimensions are used to track expenses, operations, and transactions for specific branches, departments, or locations.
For example, if your company has multiple restaurant branches, warehouses, or offices, you can create separate dimension values for each location. This makes financial analysis much easier because every transaction is automatically linked to the correct cost centre.
This setup is commonly used in:
- Multi branch businesses
- Restaurant chains
- Retail companies
- Warehouse operations
- Enterprise financial reporting
Steps to Add Location on Cost Centre Dimension
Watch this quick tutorial to understand how location and business unit dimensions are configured inside Dynamics 365 Business Central.
Step 1 Search Dimensions
In the search bar, type Dimensions and open the Dimensions page.
Step 2 Open Cost Centre Dimension
Select the Cost Centre dimension.
Click on:
- Dimensions
- Dimension Values
This will open all available values under the Cost Centre dimension.
Step 3 Create New Dimension Value
Click New to create a new dimension value.
Now enter:
- Code → DUAL1
- Name → Applebee's and IHOP Bin Malik
This creates a new cost centre location for reporting and transaction tracking.
Step 4 Open Locations
Now search Location in Business Central.
Click New to create a new Location Card.
Step 5 Configure Location Details
Add the required details such as:
- Location Code
- Name
- Address
- Country Region
Once saved, this location becomes available in inventory and transfer transactions.
How It Works in Transfer Orders
Now go to Transfer Order.
You will notice that the Cost Centre code becomes available inside the Transfer Order setup.
When the transfer from location is selected, the related information automatically appears. This helps businesses maintain accurate inventory movement tracking between branches or warehouses.
Step 6 Open Business Unit Dimension
Search Dimensions again.
Now select the Business Unit dimension.
Click:
- Dimensions
- Dimension Values
Step 7 Create Business Unit Value
Click New and add:
- Code → BU_DUAL
- Name → Applebee's & IHOP
This creates a Business Unit dimension that can later be used in financial transactions and reporting.
How It Works in Purchase Invoices
Now go to Purchase Invoice.
You will see that the BU code is available automatically during transaction entry.
This helps ensure:
- Better reporting accuracy
- Consistent financial data
- Faster transaction processing
- Proper branch wise analysis
Why This Setup Is Important
Adding dimensions and locations in Business Central helps organizations manage operations more efficiently.
Some key benefits include:
- Better financial reporting
- Easier branch wise tracking
- Improved cost analysis
- Reduced manual entry
- Accurate inventory movement records
- Simplified audit and compliance processes
This setup becomes even more useful for businesses operating in multiple cities, warehouses, or franchises.
Important Tip
Business Central also supports:
- Default Dimensions
- Global Dimensions
- Shortcut Dimensions
- Dimension Combinations
- Value Posting Rules
These features help organizations control how dimensions behave during posting and reporting.
For stricter control, you can also set dimensions as Code Mandatory so users cannot post transactions without dimension values.
Final Notes
So today we learned how to add location values on Cost Center dimensions in Dynamics 365 Business Central and how these values can automatically appear in Transfer Orders and Purchase Invoices.
This is a simple but very useful setup for businesses that want organized reporting and better financial visibility across locations and departments.
Practice this setup in your own environment and you will better understand how dimensions improve transaction management inside Business Central.
See you next time with another Dynamics 365 Business Central topic.
Disclaimer: All logos, trademarks, and brand names used in this document are the property of their respective owners. Their use here is for identification purposes only and does not imply endorsement.
Recent News
How to Set Default General Product Posting Groups in Dynamics 365 Business Central
08-09-2026

How to Apply Sensitivity Labels in Power BI for Data Protection
08-09-2026

LEAP 2026 Day 4 Highlights: $15B in Total Investments & The Human Capital Era
04-09-2026

LEAP 2026 Day 3 Highlights: $857M in Tech Deals, VC Growth & Local Manufacturing
03-09-2026

LEAP 2026 Day 2 Highlights: More Than $2.5 Billion Invested to Boost Saudi Arabia's Data Hubs and Digital Capabilities
02-09-2026

LEAP 2026 Day 1 Highlights: $15B+ Investments & 5 Enterprise Tech Trends
01-09-2026
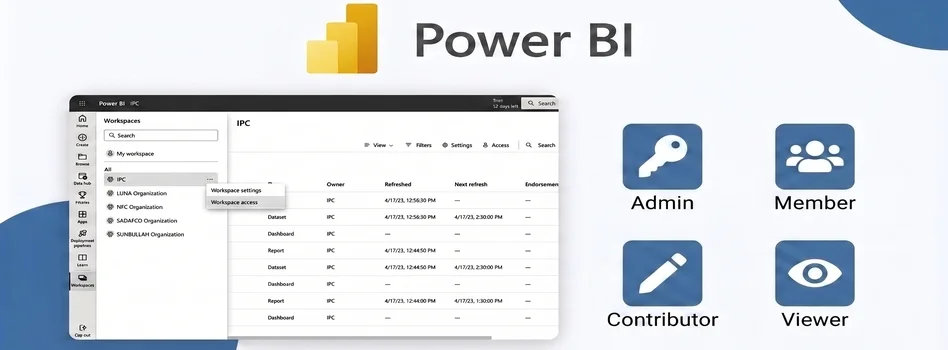
How to Assign Workspace Roles and Permissions in Power BI Service
25-08-2026
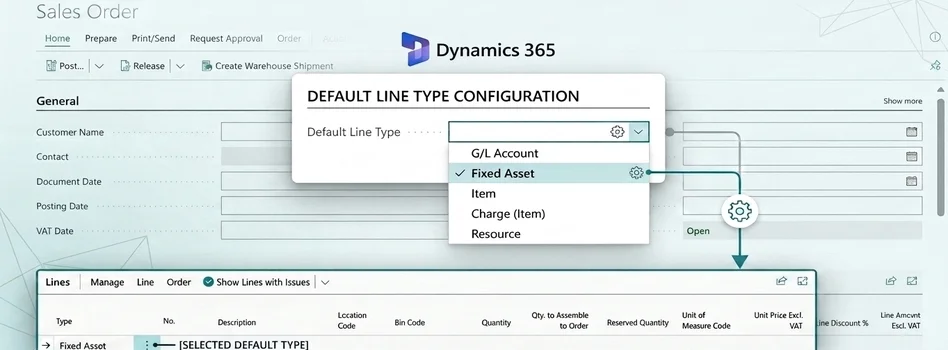
How to Set Default Document Line Types in Dynamics 365 Business Central
25-08-2026
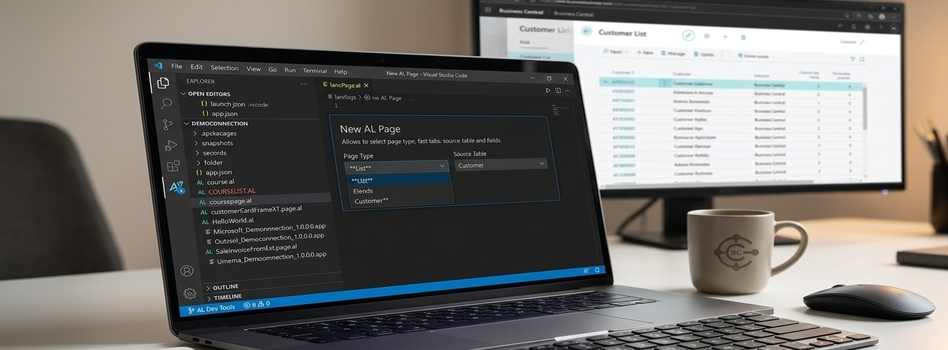
How to Create a List Page in Business Central Using AZ AL Dev Tools
19-08-2026
How to Connect Azure SQL Database to Power BI Desktop
19-08-2026

Your choice regarding cookies on this site
Policy, By Continuing, You are agreeing to Our Terms of Use and Consenting to the above.
Privacy Policy Powered By |