Business & Tech Essentials
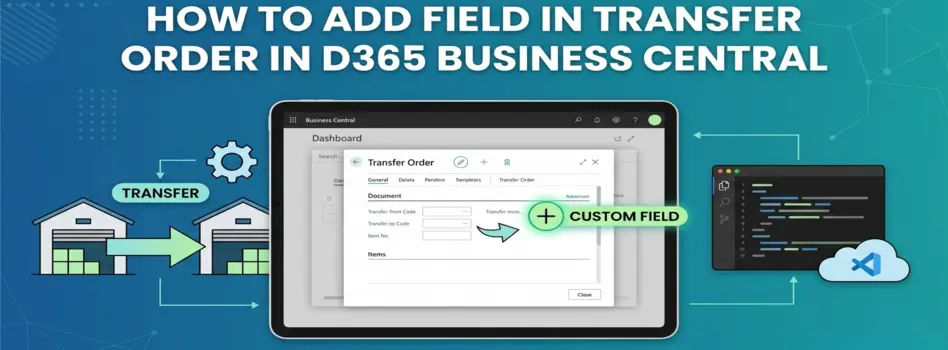
How to Add Field in Transfer Order in D365 Business Central
Today we will learn how to add a field in Transfer Order in Dynamics 365 Business Central using the personalize option and how it helps in managing additional information during inventory transfers.
This setup is useful when you want to quickly display additional fields without doing development. Instead of modifying the system, Business Central allows you to personalize the page and bring required fields into view. This helps improve visibility and makes daily operations easier.
If you want to implement proper customization or manage system-level changes, working with experts in Microsoft Dynamics Solutions can help you handle it the right way.
What Adding Field Means in Business Central
Adding a field using personalize does not create a new field. It only allows you to display already available fields on the page.
This means:
- You can show hidden fields
- You can rearrange fields
- You cannot create new data fields
This is useful for quick changes without affecting the system structure
Steps to Add Field in Transfer Order
Watch this quick video to understand how to add a field in Transfer Order step by step in real time.
Step 1 Search Transfer Order
- In the search bar, type Transfer Order and open it
Step 2 Open Personalize Option
- Click on Settings
- Select Personalize
Step 3 Enable Fields
- Click on the Field option
Step 4 Drag and Drop Field
- Select the required field
- Drag and drop it to your desired location
Step 5 Save Changes
- Click Done
Now your field is added successfully
How It Helps in Daily Work
Once the field is added, you can easily:
- View additional information directly on Transfer Orders
- Reduce the need to open multiple pages
- Improve data visibility for users
This makes inventory handling more efficient
Important Tip
Personalization only works for existing fields.
If you need:
- A completely new field
- Data storage in database
- Field in posted documents
Then you will need proper customization using development
Final Notes
So today we learned how to add a field in Transfer Order using personalize in Business Central.
This is a simple setup but very helpful in improving usability and saving time during daily operations.
Try this in your system and customize your Transfer Order screen as per your requirement.
See you next time with another Dynamics 365 topic.
Disclaimer: All logos, trademarks, and brand names used in this document are the property of their respective owners. Their use here is for identification purposes only and does not imply endorsement.
Recent News

Power BI Mobile Application Features and Usage Guide
27-07-2026

ZATCA E-Invoicing Phase 2 Integration Explained
27-07-2026

Saudi Arabia's NCA Cybersecurity Guidelines
27-07-2026

How to Use Power BI Copilot
20-07-2026

Microsoft SharePoint Deserialization Vulnerabilities: What Organizations Need to Know
15-07-2026

How to Add Fields in Business Central Using Customized Pages
13-07-2026

How to Disable Personalization in Business Central Using Profile Roles
13-07-2026

SACS-210: What’s New for Aramco CCC Compliance
06-07-2026

Saudi PDPL Enforcement Updates & Data Privacy Guidelines
28-06-2026

Cybersecurity Compliance Roadmap CCC: Aramco SACS 002 Submission & Certification in Depth
23-06-2026

Your choice regarding cookies on this site
Policy, By Continuing, You are agreeing to Our Terms of Use and Consenting to the above.
Privacy Policy Powered By |