Business & Tech Essentials
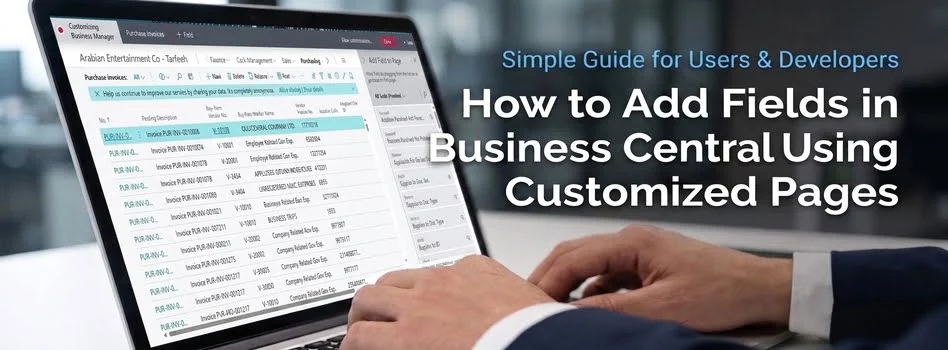
How to Add Fields in Business Central Using Customized Pages
Sometimes, the information we need is already available in Dynamics 365 Business Central—it just isn't visible on the page. Instead of asking your development team to create a customization, you can often solve the problem by using Customized Pages.
I personally like this feature because it allows administrators to make interface changes without writing code. Whether you want to display Amount Including VAT, a posting field, or any other existing field, you can make it available for everyone using the same profile.
If your organization regularly customizes Business Central or wants role-based page layouts, working with a Microsoft Dynamics Services Provider can help you build a cleaner and more efficient user experience.
What are Customized Pages?
Think of Customized Pages as profile-level personalization.
When you customize a page through a profile, every user assigned to that profile sees the same layout. This is different from Personalize, where only your own screen changes.
With Customized Pages, we can:
- Display hidden fields
- Hide unnecessary information
- Rearrange page layouts
- Create a consistent experience for an entire department
The best part is that none of this requires development.
Steps to Add Fields Through Customized Pages
Watch this quick video to learn how to add fields using Customized Pages in Dynamics 365 Business Central.
Step 1 Open the Business Manager Profile
- Search for Profiles.
- Open the Business Manager profile and click Customize Pages.
Business Central will automatically open a new browser window in customization mode.
Step 2 Open the Required Page
- From the customization window, open the page where you want to display a new field.
- In this example, open Purchase Invoices.
Step 3 Add the Required Field
- Click Field from the top menu.
- Select the field you want to display.
For example, you can add Amount Including VAT or any other available field.
- Once selected, click Done.
Step 4 Save the Customization
Business Central will display a confirmation message saying the customization has been completed successfully.
- Close the customization window.
Step 5 Verify the Changes
- Go back to the Purchase Invoice page.
You will now see the newly added field on the page for users assigned to the Business Manager profile.
Why Should You Use Customized Pages?
In many Business Central projects, users ask developers to add fields that already exist in the system.
Before requesting development, I always recommend checking whether the field can simply be displayed using Customized Pages.
It helps you:
- Save development time
- Keep page layouts consistent
- Reduce user confusion
- Improve daily productivity
- Make important information easier to access
For many organizations, this simple feature solves a large number of day-to-day usability requests.
A Quick Tip
Customized Pages only work with existing Business Central fields.
If your business needs:
- A brand-new field
- Additional database storage
- Custom validations
- New business logic
then you'll need an extension developed in AL.
Final Thoughts
Not every Business Central change requires development. Sometimes, the solution is already built into the platform—you just need to know where to find it.
Customized Pages give administrators an easy way to improve the user experience while keeping the system clean and consistent for every user sharing the same profile.
If you've never explored this feature before, it's definitely worth trying. You'll be surprised how many everyday requests can be solved in just a few clicks.
See you next time with another Dynamics 365 Business Central topic.
Disclaimer: All logos, trademarks, and brand names used in this document are the property of their respective owners. Their use here is for identification purposes only and does not imply endorsement.
Recent News
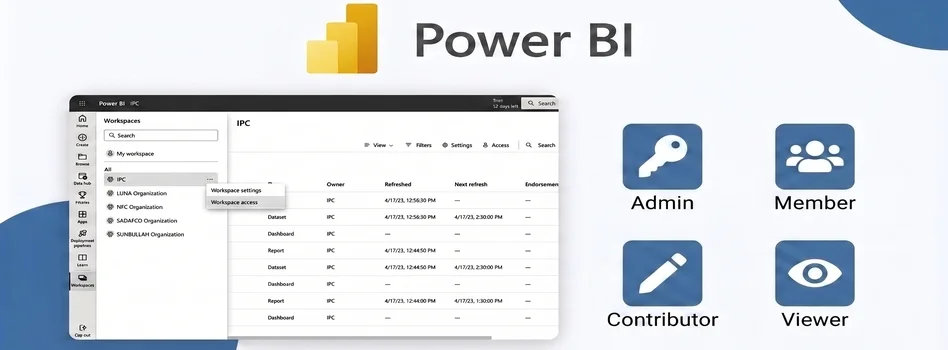
How to Assign Workspace Roles and Permissions in Power BI Service
25-08-2026
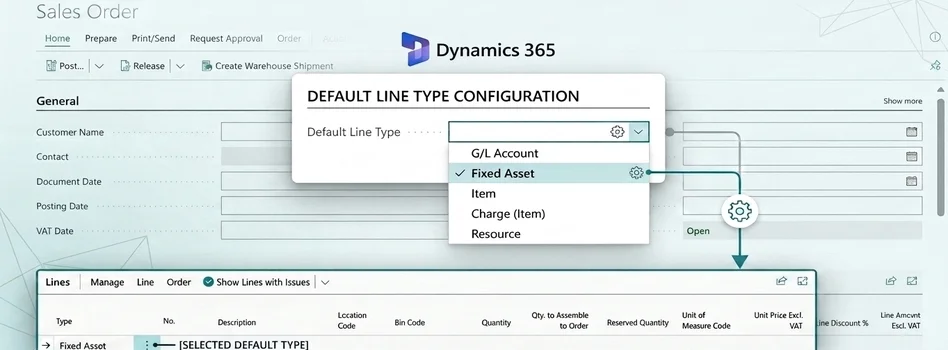
How to Set Default Document Line Types in Dynamics 365 Business Central
25-08-2026
How to Create a List Page in Business Central Using AZ AL Dev Tools
19-08-2026
How to Connect Azure SQL Database to Power BI Desktop
19-08-2026
How to Do Predictive Analysis in Power BI Desktop
07-08-2026
How to Navigate Department Documents in SharePoint
07-08-2026
How to Remove or Hide Posting Rights for Users in Dynamics 365 Business Central
07-08-2026
Power BI Mobile Application Features and Usage Guide
27-07-2026

ZATCA E-Invoicing Phase 2 Integration Explained
27-07-2026

Saudi Arabia's NCA Cybersecurity Guidelines
27-07-2026

Your choice regarding cookies on this site
Policy, By Continuing, You are agreeing to Our Terms of Use and Consenting to the above.
Privacy Policy Powered By |