
Business & Tech Essentials

Sending Alerts Using Power Automate in SharePoint (Step-by-Step Guide)
Today we will learn how to send alerts using Power Automate in SharePoint. Previously, SharePoint had a built-in “Alert Me” feature, but Microsoft has officially retired it and is moving everything toward Power Automate for better flexibility and control.
This means if you want to receive notifications when a file is added, updated, or modified, you now need to create a flow using Power Automate. The good thing is that it is more powerful, customizable, and works across multiple services like Outlook and Teams.
If you are planning to automate notifications and workflows in your environment, working with a SharePoint Services Provider can help you design flows that are reliable and aligned with your business processes.
Why SharePoint Alerts Are Moving to Power Automate
The traditional alert system was limited. It could only send simple notifications without customization.
With Power Automate, you can:
- Send alerts to multiple users
- Customize subject and message content
- Trigger alerts based on specific conditions
- Integrate with email, Teams, or other systems
This shift is not just a change in tool, it is a move toward workflow-based automation instead of basic alerts.
Steps to Create SharePoint Email Notification Flow
Watch Complete Video
Watch this quick walkthrough to see how to create a SharePoint alert flow using Power Automate step by step.
Step 1 Open Power Automate
Go to Power Automate from the SharePoint side panel or directly open it from Microsoft apps
Click on Create
Step 2 Choose Flow Type
Select Instant Cloud Flow
Choose trigger: When a file is created or modified
Step 3 Configure SharePoint Trigger
Now configure the required parameters:
- Site Address
- Library Name
- (Optional) Folder selection
This defines where your alert should trigger
Step 4 Add Compose Action
Add a Compose step
Write your message like:
“File is added or modified”
This helps structure your alert content
Step 5 Add Send Email Action
Add Send Email (V2) from Outlook
Fill in details:
- To (single or multiple users)
- Subject
- Email Body
- Importance (Low, Normal, High)
You can also use formatting like bold or dynamic content
Step 6 Save and Test Flow
Click Save
Now go back to your SharePoint library and modify or upload a file
Your flow will trigger and send email notifications
Step 7 Manage Your Flow
Go to My Flows
From here you can:
- Edit flow
- Share flow
- Delete or duplicate
- Monitor runs
Real Use Cases of SharePoint Notification Flows
In real business scenarios, these flows are used for:
- Document approval alerts
- File upload notifications
- Status change alerts in lists
- Department-wise file tracking
- Deadline or reminder notifications
This makes Power Automate more than just alerts. It becomes a workflow automation tool.
Alternative Alert Methods You Can Use
Depending on your need, you can also use:
- Microsoft Teams notifications for instant team alerts
- SharePoint Rules for simple conditions
- Reminder alerts based on date columns
These options help when you don’t need a full flow.
Important Notes
- Classic SharePoint alerts are being phased out
- Power Automate is now the standard approach
- Always test your flow after creating it
- Use dynamic content for better email details
Final Notes
So today we learned how to send alerts using Power Automate in SharePoint. Instead of relying on the old alert system, you can now build flexible and smarter notification workflows.
Try this in your environment and explore how automation can simplify your daily tasks.
See you next time with another Microsoft topic.
Recent News
%20in%20Brief.webp)
AI (Artificial Intelligence) in Brief
08-04-2026
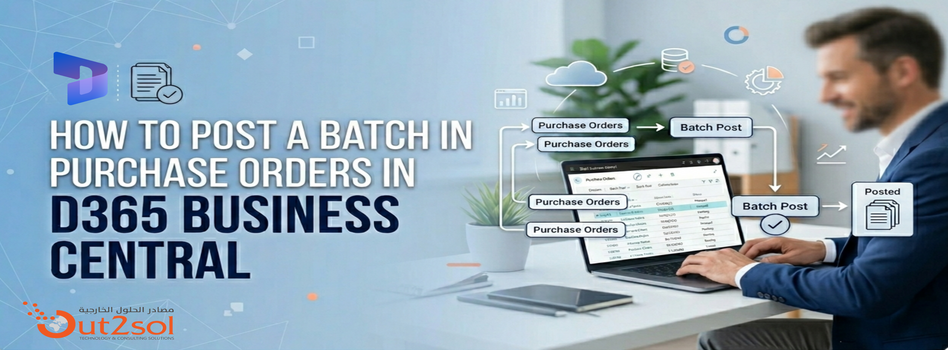
How to Post a Batch in Purchase Orders in D365 Business Central
06-04-2026
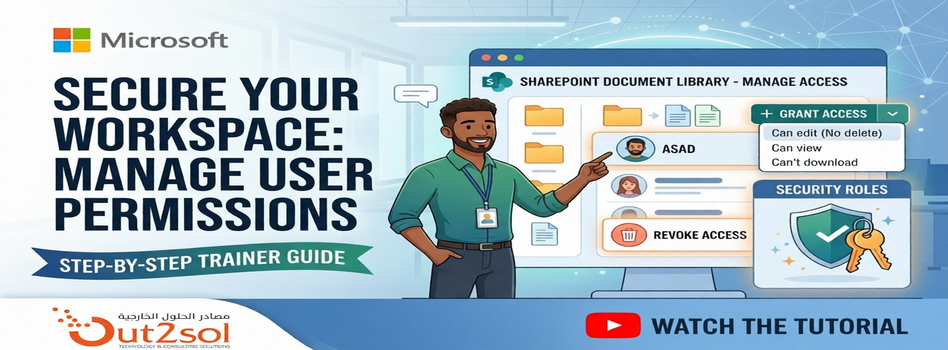
How to Manage User Permissions in a SharePoint Document Library
29-03-2026
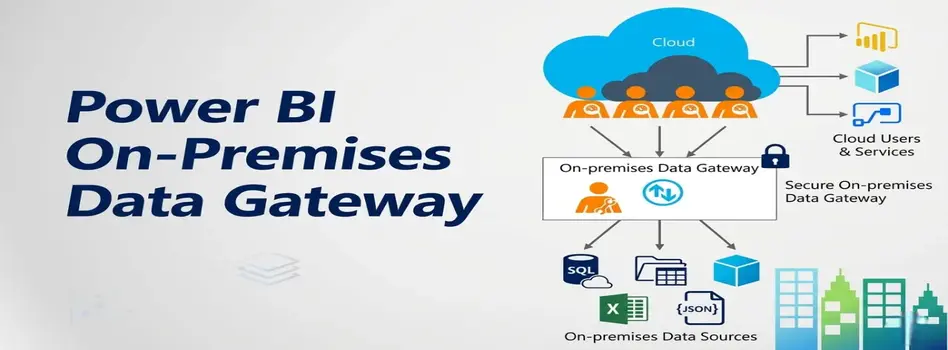
Microsoft Power BI Gateway: A Professional Guide
16-03-2026

Benchmarking Discount Voucher Practices: 2026 Industry Guide
16-03-2026

Importance of Trademarking Your Logo (How to Start Today)
07-03-2026

Set Up Default Account Numbers for BC Sales Invoices
02-03-2026

Saudi PDPL Enforcement Updates & Data Privacy Guidelines
23-02-2026
How to Create a Timeline in Power BI
14-02-2026

Cyber Security Awareness and Compliance Guide for Organizations
07-02-2026

Your choice regarding cookies on this site
Policy, By Continuing, You are agreeing to Our Terms of Use and Consenting to the above.
Privacy Policy Powered By | ![]()


